Showing posts with label Christmas. Show all posts

Friday 29 November 2013

selfridges christmas hamper challenge: panettone party bites


Great things come in small packages. It turns out they also come in bigger packages, made of wicker and with mustard yellow leather buckles. Or a luxury hamper, to be precise. A rather gorgeous one emblazoned with an ‘S’ on the front and stuffed to the gilt with all manner of things that desire to be nibbled and quaffed around this time of year.
I have the kind folk at Selfridges to thank for this gift. But as my mother says, ‘you don’t get something for nothing in this world’. No, wait, that’s not it. It's ‘you get what you pay for’. Usually in response to me moaning about Primark flip-flops separating into foam and thong in the middle of the street leaving me shoeless and the subject of much comedy.

Regardless, a challenge had been accepted in order for me to receive this hamper; create a Christmas dish to entertain guests from the delights that lay within. The contents at my disposal were a lot of rather good Selfridges own label products: Chianti, Prosecco, a bottle of Touraine Sauvignon, piccalilli, savoury thyme biscuits, chocolate butter shortbread biscuits, English fudge, strawberry jam, a Christmas pudding, a box of chocolates, brandy butter, giant chocolate coin, tea and coffee. But the main item that caught my eye was the stonking 1kg panettone that, once the cellophane was breached, filled the kitchen with the aroma signature to this enriched, intense, slightly sweet Italian bread. 

Incidentally, it's one of my favourite things to eat at Christmas and if you want to try making one yourself, here is a step-by-step guide to baking a panettone - it is entirely worth the effort. A lot of effort, mind. But without a doubt one of the most satisfying things that would ever come out of your kitchen.

Panettone at Christmas is nothing new. But a slab of it on a plate and served to guests can feel a little uninspired. Here’s a very simple but festive way to jazz up this well-loved loaf as finger food, of which there can never be enough of at any gathering of merriment.

Panettone Party Bites A large panettone (750g-1kg) Some chocolate, to melt (I used the chocolate coin) Festive cookie cutters Edible gold glitter (optional) Take the panettone and peel off the cardboard casing. Place the bread right side up on a cutting board and with a large bread knife, score marks right around the circumference approximately 1.5cm from the bottom. Slice off a whole round following the scores you’ve made, try to keep the slice all the same thickness. Using your festive cookie cutters, punch out shapes from your slice of bread. Tip: As panettone has many air holes in it, try to avoid including any very large ones in your shapes as they will cause them to easily break apart. Repeat slicing off rounds of the same thickness and punching out more shapes until you have either used up all of the bread or have the desired number of cut-outs. Place the bread pieces on a baking tray and toast under a hot grill for a minute. Be sure to keep an eye on them as they will brown very quickly - you want to achieve a golden colour. This toasting will help keep the shape and make them easier to handle. Only toast one side so you have a combination of crisp and soft texture. Remove from under the grill and allow to cool. Once cooled, arrange them very closely together, un-toasted side up, on a baking sheet ready for the chocolate piping.

Take half of the chocolate coin and break into pieces, place in a bowl and microwave for around 30s. Remove the bowl, give the chocolate a stir, and microwave for a few seconds more until the chocolate becomes smooth when stirred. Tip: Be sure not to overheat the chocolate or it will go all lumpy. It’s best to do just a few seconds at a time, stirring between each. Take a sandwich bag and spoon the melted chocolate into one corner. Twist the rest of the bag to create pressure in the corner with the chocolate, then snip a very small bit of the corner off with scissors to create a small piping hole. Watch out – the chocolate will come out immediately! Squeeze the bag and pipe lines across all of your panettone cut-outs. Once the chocolate has cooled and hardened, separate the bites and keep air-tight until you are ready to serve them. There is no need to throw away any bits of bread that didn’t make the grade for a cut-out (heavens no) - collect these and keep them in an airtight container. Every time you have a strong coffee, make like the Italians and dunk a bit in. Simple pleasures. Afiyet olsun.


Monday 24 December 2012

Panettone Queen


Well, it's taken three Christmases but I've finally done it. I have finally made a panettone that has turned out how it should - light, fluffy and fragrant. I am so bleedin' pleased. 


There's history behind this. Every Christmas for the past three years, I have followed a particular recipe in order to attempt this classic Italian seasonal sweet bread as a bit of a centre piece, and as a gift to my parents and the in-laws  The panettone always came out more cake like rather than bread like.  It usually tasted alright, but the texture just wasn't there. I would put it down to the challenge of trying to get a dough enriched with so many eggs and huge hunks of butter to rise - it's difficult. But it turns out that it wasn't me or my lack of skill. It was the recipe that was at fault. It was rubbish.


This recipe suggested combining everything from the beginning and trying to get it to rise with only two proving periods - the first in a bowl and the second in the panettone mould. I could always get it to rise during the first prove, but nothing happened in the second. It did not develop the signature pockets of air and so when cooked, was more dense like a cake rather than fluffy like a bread. Matt eventually persuaded me to stop being so stubborn with this one recipe that clearly wasn't working, and find another. So a quick search on youtube and I found this very helpful video by Giallo Zafferano talking you through a genuine Italian panettone recipe. Turns out doing it properly takes patience and has four different proving stages - four! All in, it's around 7-10 hours, so give yourself the whole day. I made two over two consecutive days and reduced the time by two hours on the second go, probably because I knew exactly what I was doing by then. 

That amount of time may sound daunting, but it is entirely and completely worth it. And don't forget, for a lot of that it is just sitting and rising while you can get on with other things. Seeing the dough almost explode beyond the constraints of its mould while cooking from all the light and fluffy excellence it's creating within is almost irresistible. If you are making this as a gift, it will take every ounce of self-restraint to prevent you from eating it hot and straight out of the oven. If you are exercising this brazen act of wanton self-deprivation, then kudos to you. Bestow the treasure upon your lucky recipients along with instructions of heating it up in a low oven until piping before serving, to bring it as close to the former glory of its first oven outing as possible.


Yes you can buy these everywhere at this time of year, and yes they can be quite decent and reasonably priced too. But there's nothing like putting the time and effort in making one yourself. You'll be beaming from ear to ear with a sense of pride and accomplishment. Not to mention it will be another classic bake you can add to your repertoire. And you will be fully entitled to crown yourself as Panettone Queen/King. At least, I have.


Classic Panettone

Makes one large or 8-9 small


Equipment

Panettone tin or panettone moulds
Non stick baking paper
Bowl / dough scraper
Cling film
Large mixing bowl

Ingredients

510g of flour (half plain, half strong white bread)
160g sugar
1 vanilla pod, seeds scraped out
1 tsp sugar
5g salt
160g unsalted butter
4 x whole large free range eggs
3 x large free range egg yolks
12g fresh yeast (ask the bakery counter in large supermarkets)
60ml full-fat milk
80g candied citrus peel
120g raisins and sultanas
1 egg white (for egg-wash)

First prove

Warm the milk in a saucepan until tepid. Add the 1 tsp of sugar and crumble in 9g of the fresh yeast. Stir until dissolved and leave for a few minutes. The heat from the milk will activate the yeast and the sugar will feed it - when the milk starts to get frothy with holes, that's when it's ready. If the milk gets too cool in the meantime, heat it up again. Make sure it doesn't get near boiling though or the extreme heat will kill the yeast.
activated yeast

Mix this liquid with about 100g of the combined flours in a bowl until it comes together. Knead for a good 10-15 minutes on a work surface until the dough is soft, smooth and elastic. During the kneading process you are developing the gluten to add structure to the dough and help it rise. If you pull a bit of the dough apart between your fingers, you want it to stretch before it snaps. When you've got a good amount of stretch, you've kneaded enough.


Shape the dough into a ball and drag along the work surface with your hands cupped around it and your little fingers against the table - this will create tension on the surface of the ball which will help it rise. You should have something that looks like this:


Place in a bowl and cover with cling film. Keep somewhere warm around 35C. I always use a very low oven, barely switched on. When the dough has doubled in size (around 1hr but it could take less or more time), your first prove is complete.


before it goes in the very low oven


when it comes out - notice it has doubled in size

Second prove
In a large mixing bowl, add about 190g of the remaining flours, crumble over the rest of the fresh yeast and add two whole eggs. To this, add your doubled dough and combine all together with your hands. To this add around 45g of the sugar and about 57g of the butter half at a time to fully combine it (the butter should be at room temperature so it's a bit soft - if it's too hard put it in the microwave for a few seconds). You will at first be presented with what looks like a bit of a mess: 


Knead this for a good 10-15 minutes. Use your hands to manipulate the dough back and forth until it is smooth, elastic and no longer sticking to your hands or the work surface. You need patience - keep at it and you will get there. After 15 minutes of kneading you'll end up with something that looks like this and very similar to before - smooth as a baby's bum:


Tip Despite the dough being quite wet and sticky when first bringing it together, you don't need to flour the work surface. Just keep working the dough and use your scraper to scrape any bits that stick to the surface to bring it back to the main mass. Eventually, the dough will no longer stick to the surface and stay as one elastic soft mass. That's when you've done enough kneading.

Again, cover in a bowl and put back in the low oven until it has doubled in size again.

after the second prove - doubled in size once again

Third prove

To this risen dough, add the remaining flour, remaining butter, remaining sugar and the remaining eggs - two whole and three yolks. Combine either in an electric mixer (this will be really quite sloppy at this stage) or in the bowl with a wooden spoon at first. When it's well combined, add the currants / sultanas, candied citrus, salt and vanilla bean seeds. At this stage you can also add the zest of an unwaxed lemon and orange for the classic panettone aroma. Alternatively, you can do what I did and add 1-2 tsp of Aroma Panettone which will be more effective - it doesn't half smell incredible.

Turn your phone off and put some good music on. You're going to be kneading for the next 30-40 mins. Pretty good work out. To start, make a claw shape with your hand and make circular motions within the pile of wet dough to get it to at least start thinking about coming together. After 15 minutes of this you'll have something that looks like this - you can already see the elasticity developing:


after 15 minutes of hard kneading

Keep using your scraper to bring rogue sticky bits back to the mass. Another 15 minutes and it will look more like this - it's now beginning to stay more as one mass.

after another 15 minutes..


Perseverance and patience is really key here - just keep going. When it's at the above stage you can add a little sprinkling of plain flour on the work surface and over the dough to help it along a bit. However, don't be tempted to just keep adding flour in order for it to come together - I'm afraid there's no short cutting, you just need to keep going with the hands. The addition of flour is not what it needs or want, what it does require is more kneading . Once you've achieved a mass that is no longer sticking to the surface, continue until it becomes lovely and smooth and elastic like the previous stages - do not stop until you reach this stage.  Shape into a ball using the same technique as before.

You will eventually have something that looks like this (I promise):

after a very decent upper body workout

Once again, put in a bowl and cover with cling film. It goes back in the low oven until it has doubled in size again:


after it's third prove - doubled in size

While you're waiting for this to happen, prepare your panettone moulds. If you are making one big one, wrap some non-stick baking paper around the outside of the mould so it's about double the height of the mould itself. This will prevent the dough from tipping over the top of the mould during it's fourth prove and it's actual bake. I secured the paper by stapling it to the cardboard panettone mould itself.

If you're making lots of little ones, you will need to do the same thing for each individual mould - wrap some taller non-stick baking paper around the outsides of them and secure with staples.

If you're using a panettone tin (I must get me one of these) then just grease and line the inside with non-stick baking paper.

Fourth prove


Once the dough has doubled (it may take longer than previous stages as there is more of it now), tip it out back onto your work surface. If you're making the single large one, fold the mass in half a couple of times (turning it 90 degrees between each fold) and then reshape into a ball. Place in the mould and push it out with your knuckles so it's touching the sides.

If you're making little ones, use your scraper to divide the dough into the individual masses, shape each of these into a ball and pop into each individual case.

Tip Whether you're making large or small ones, be sure not to over work the dough at this stage. You definitely shouldn't be kneading, you are really only manipulating the dough into balls to put into the moulds - nothing further.

Cover again with cling film. If you've got lots of the little ones, the easiest way is to sit them on a baking tray and wrap the plastic round the panettones and the tray itself. Put back in the warm oven and wait until they have - you guessed it, doubled in size.

individual panettones before final prove


.. and after the final prove - each
risen and doubled in size


the single large panettone after the final prove -
note it should reach the rim of your mould / tin

If you're making the single large loaf brush the top with egg white once it's doubled in size, and slash a cross in the top with a very sharp knife (I use a DIY razor for my dough slashing). This will allow it to expand during the bake. Place a knob of butter in the centre of the cross - this will also help to seal in the moisture and prevent the top from burning during the cooking process.

The smaller panettones don't really need a cross as their diameters are small enough to just rise directly upwards without needing the give of the cross. Do egg wash and add a little bit of butter to the top of each though.

The bake

Whack your oven up to 200C (fan) and once it has preheated, put your panettones in. After all your hard work and patience, they're finally ready to bake. After 10 minutes you may need to cover the surfaces with foil to prevent them over browning - at this stage turn the oven down a bit too to around 180C-190C. In total the large panettone needs about 1 hour in the oven. The smaller ones will take less time - keep an eye on them.

Take a moment to enjoy the huge expansion they make in the oven - very satisfying.

To check if they're done, insert a wooden or metal skewer into the centre of the dough - if it comes out clean then the dough is cooked. If it still comes out a bit sticky, it needs more time.

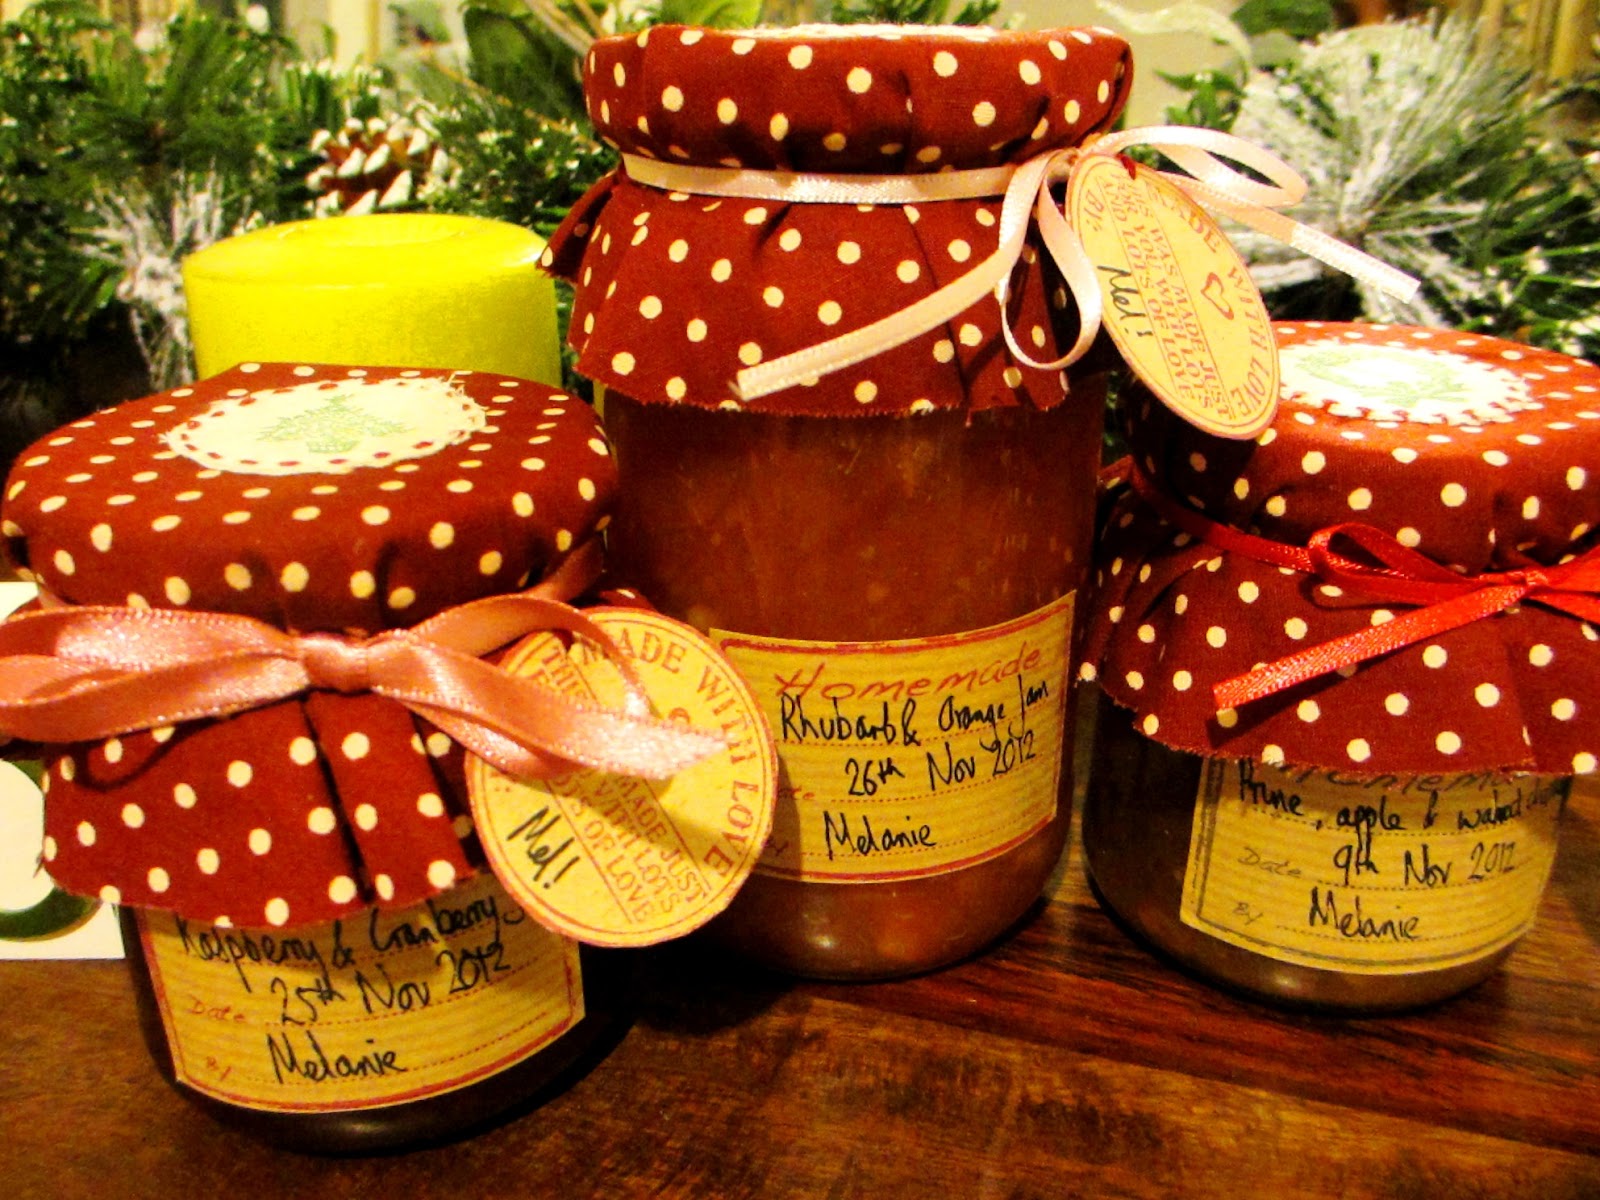
When your bread is done, remove from the oven and allow to cool on a wire rack. Either devour while warm with some jam or a slathering of even more butter. Fresh and still hot, it could quite possibly be the most gorgeous thing you've ever consumed from your kitchen. Alternatively, allow to cool completely and dust with a festive sprinkle of icing sugar. Be sure to reheat in a low oven until piping before you serve it up again.


Alfiyet olsun.


'Twas the night before Christmas..

..and I've taken the executive decision to open the first of my presents early. These are edible gifts (the best kind) and came from my good friend Mel.


I have also decided they deserve their own blog entry because they just look excellent - they have been wrapped up so beautifully. Not only do they contain jars of homemade goodness, but completely homemade wrapping. We're talking custom made stamps to print onto the round labels; pretty stamped circles of fabric hand sewn onto the larger fabric tops; and all sitting pretty in a wicker basket wrapped in snow flake cellophane. Clearly made with a lot of love and care, and much appreciated.


I have:

  • Raspberry and cranberry jam
  • Rhubarb and orange jam
  • Prune, apple and walnut chutney

Quite sure she could have sold these for a decent profit. But instead I got them - joy.The chutney will get an outing this evening along with a delicious cheeseboard. Can't wait.

I should definitely start wrapping presents now..


Happy Christmas!

Alfiyet olsun.

Tuesday 18 December 2012

Edible Christmas Gifts - III

Panforte (pronounced pan-FOR-tay) is a traditional Italian Christmas cake containing fruit and nuts and originating from Siena in Italy. The texture is quite chewy and comes from mixing the fruit, nuts, spices, and flour with a boiled syrup made from sugar and honey. 


My version uses a lot less flour than others, rendering it less of a cake. What you'll be left with are crunchy nuts set within a sweet caramel sauce. If you then chop them up into bite sized chunks and pop them in a jar, they make a fantastic Christmas gift. You could also keep a plate of these easily accessible as nibbles for friends and family to graze on over the festive period. 

Panforte Bites

Would fill about 5-6 medium jars


Rice paper for lining

200g blanched almonds
200g skinned hazelnuts
100g pecans
100g pistachios, shelled
200g dried cranberries
4 tsp ground cinnamon
2 tsp grated nutmeg
Enough plain flour to coat
200g icing sugar
200g clear honey

First toast the almonds, hazelnuts and pistachios. Dry fry in a large frying pan over a low-medium heat for a few minutes until they begin to get some colour. Keep an eye on them as they can go from golden to burnt in an instant. Remove from the pan and allow to cool.Preheat the oven to 160°C/fan 140°C/gas 3. Line the base of a square sandwich tin with rice paper. In a large bowl, combine all the nuts and the cranberries. Sieve a load of plain flour into the bowl and toss the nuts and fruit until they're all coated.  Pour the contents of the bowl into a sieve to remove any excess flour, and then add the spices and mix well. Put the sugar and honey in a large saucepan over a low heat and dissolve slowly. Continue cooking until it turns a light caramel colour - this will take a few minutes. Don't be tempted to stir it, but you can move the pan around a little if you want to. Pour over the nut and flour mixture and mix very well until fully combined.

coated in flour and spices


before going into the oven

  1. Tip
     By all means feel free to add more spices or a different proportion of nuts.
  2. Tip Be sure not to over cook your caramel - if it gets too dark it will taste burnt. Once you start seeing some colour, wait a little bit longer and then take it off the heat.
  3. Tip As soon as you start to pour the caramel over the nuts, it will immediately begin to cool and set. This makes it quite difficult to combine everything together - but keep at it. It will just require some upper body strength.
  4. Spoon the mixture into the tin and press down well to make sure it is level, then bake for 25-30 minutes or until the nuts start to get some colour. Leave to cool slightly, then turn out.
  5. Tip The trick to get the contents out of the pan (remember it will all be incredibly tough and sticky) is to scoop it out while it is still warm and malleable. The easiest way is to put the contents on something the caramel won't stick to, as it again will begin to set and stick to anything (particularly metal) once it's out of the pan. I put the nuts on a wooden chopping board and used my hands to mould them back together into log shapes, knowing they would be easy to slice once it had cooled (see chopping board picture). Spend some time really pushing all the nuts together so they are densely packed with no gaps in between.
  6. Once they have cooled, take a large sharp chopping knife and cut them up into bite sized chunks. You can then pop these in a glass jar, top with a festive square of material or some brown paper, and they are ready to bestow upon those you know.
  7. Alfiyet olsun.

Monday 17 December 2012

Edible Christmas Gifts - II

The majority of the homemade Christmas gifts I have cooked up this year seem to have an Italian theme. And there's certainly nothing wrong with that. What better way to tackle the excesses from the festive night before than with a strong dark espresso complemented beautifully by a sweet Italian riciarelli biscuit the morning after. Sounds good to me. I hope my friends think so too.

These little biscuits can often be found in the window displays of Italian cafés. They originate from Siena and are essentially a combination of ground almonds and icing sugar, bound together by egg whites. Wonderfully simple and enjoyable to make.


Riciarelli biscuits

Sweet Italian almond biscuits, perfect with the morning's strong coffee. No flour involved.

Makes about 24 biscuits

  1. 250g ground almonds
  2. 250g icing sugar, plus extra to coat
  3. ½ tsp baking powder
  4. 2 large free-range egg whites
  5. 1 tsp vanilla extract
  1. Preheat the oven to 180°C/fan 160°C/gas 4. In a large mixing bowl, combine the dry ingredients and mix well so they're equally distributed. In a separate large bowl, whisk the egg whites until stiff. Add the vanilla extract to the bowl of dry ingredients, then fold in the egg whites using a metal spoon or spatula. Don’t worry too much about knocking the air out of the egg whites – the dough will quite bit sticky and heavy.
  2. Tip If you want 24 pieces, divide your dough in half, then quarters, then eighths. Then divide each of these into three pieces, and you'll end up with 24 separate pieces of dough. Separating the portions out all at once before creating each biscuit means you'll be more successful in keeping them closer to the same size. If you would like each biscuit to be small (say half the size of the ones in the picture) then feel free to divide each final piece into two for 48 pieces. Don't forget that these would cook quicker.

    Shape each of these pieces of dough into a ball, then roll in a shallow dish of icing sugar to coat. Flatten the ball lightly in the palms of your hands, then pinch the sides into a rough diamond shape. Lay on a non-stick baking sheet about a centimetre apart (they do puff up a little during the cooking process), then repeat with the remaining dough.
  3. Tip You can of course choose any shape for the biscuits. Trying to make all the diamonds look uniform and not like squares on their side can be a bit fiddly, so feel free to opt for the flattened ball, or perhaps a flattened oval.

    Transfer to the oven and cook for 10-15 minutes until the biscuits start to turn golden brown. Remove the tray from the oven.Leave the ricciarelli to cool completely on the tray (pick one up early and it will leave its base on the tray). Once cool, you can lift them easily off the sheet with a flat knife. Give them another light dusting of icing sugar and they're ready to enjoy.

    In order to package these up as gifts, I had initially intended to store them in glass jars. However, they turned out far too large to fit into them (I will make the biscuits in my next batch much smaller so I can do so). Instead, I decided to stack them and wrap in cellophane.

    I did so by taking a long strip of plastic, laying a row of the biscuits on top of it and bringing in the bottom and sides of the cellophane and securing with clear tape, a bit like wrapping a present.  I then gathered the excess at the top and secured with jute string. I tried to make sure any gaps in the wrapping were sealed so it was as airtight as possible, to prevent the biscuits from going soft. Regardless, I informed the recipients that once they had enjoyed the decoration, it would probably be best to transfer them to Tupperware in order to keep them fresher for longer.

    These are simple, beautiful and delicious gifts, well received by my wonderful friends and family they were intended for.

    There is no need to restrict the making of these to just the festive period - they are worthy in their own right to be rustled up at any time of year.

    A perfect way of using up egg whites left over from some decadent
    chocolate fondants, perhaps.


    Afiyet olsun.

Sunday 16 December 2012

Afternoon Tea, The Lanesborough - Review

Britain is full of institutions, many to be proud of. Monty Python, suits from Saville Row, the NHS, the BBC, Speaker’s corner, and Wimbledon to name a few. Eating and drinking are also a major part of the British make-up, and we don’t fare too badly when it comes to institutions of the culinary kind – full English breakfasts, gin and tonic, fish and chips, Pimms, Sunday roasts, strawberries and cream. The British are also well known the world over for their love of tea. The habit of taking tea in the afternoon is now a tradition so strong that all the top hotels in London offer an ‘afternoon tea’ dining experience, priding themselves on expertly sourced preserves and the quality of their tea range, with stiff competition amongst the rivals.

It was Matt’s mum’s birthday this weekend and for a gift, he treated both his parents to join us for afternoon tea at The Lanesborough, Hyde Park corner. Many of the hotels in London claim their tea experience to be the best. However, it’s The Lanesborough that has won the UK Tea Council Award of excellence every year between 2009-2012 and they are keen to highlight this fact on the very first page of their menu, and rightly so. Afternoon tea is served daily in the hotel’s Michelin starred conservatory restaurant, Apsleys - grand in its Venetian splendour and fitting for the experience.


We were seated at a table next to the pianist – an older gentleman dressed in his finery, playing both soothing pieces of classical alongside more jaunty Christmas melodies. From the menu on offer, Matt opted for The Lanesborough Tea (£40) which includes your preferred choice of tea (in this case Assam), a selection of finger sandwiches, pastries, toasted teacakes and homemade scones, served with homemade fruit preserves and clotted Devonshire cream.  Matt’s parents and I opted for The Belgravia Tea (£50) including the full afternoon tea selection as above, with the addition of fresh strawberries and cream and a glass of champagne. I selected the Lanesborough afternoon blend and those chosen by the rest of the party were the slightly stronger Lanesborough morning blend, and Earl Grey.


Photograph from hotel website

The teas were ceremoniously poured from silver pots of substance and strawberries were delivered at room temperature – exactly how they should be. We were each then presented with an amuse bouche of chocolate sponge topped with chocolate mousse, sitting atop a mango and banana puree with a festive sprinkling of gold leaf - very pleasant. Empty pots removed and the familiar three tiered stand of an afternoon tea was soon delivered, presenting us with the sandwiches, cakes and petit fours. The sandwiches could have been arranged a little neater, but stripped of their crusts and with soft bread, the flavours were appealing and traditional with the inclusion of a couple of Christmas guest spots: smoked salmon with cream cheese on brown; egg mayonnaise and cress in delightful cloud like brioche buns, turkey and cranberry with red cabbage on white, cucumber, and Stilton  The middle tier housed the cakes: a square of dense and sweet Christmas cake, a lemon sponge, a wonderfully rich chocolate cake, and a hazelnut based sponge. The top tier of petit fours included a spiced cheesecake, and raspberry and chocolate based bites. Alongside this tower of delights were four warm caramelised red onion and cheese tarts – a classic combination of flavours that expectedly worked well, encased in crispy light pastry.


With tea regularly topped up and sandwiches joyfully replenished at request (Matt is first in line at the Stilton fan club), room for more was rapidly waning. But more there was. A plate of dainty mince pies with a dusting of icing sugar; toasted spiced tea cakes; and small warm scones sporting golden glazed marmalade hats. To accompany this, pots of strawberry jam, lemon curd and Devonshire cream. Aromas of cinnamon, ginger and mixed spice were mingling with every mouthful from the mince pie fillings and tea cakes. The scones were fresh, light and soft - so delightful in their form that we asked for a few more and were happily obliged. As part of this festive version of the traditional afternoon tea (available until 1st Jan), our final consumable came in the form of a shot glass housing a warm and spicy mulled wine. A glorious round-off to the fare, and capable of warming the very marrow in your bones.


The simultaneous consumption of tea and champagne (and alongside mulled wine in this instance) may sound strange on paper. And to be honest, it is – in no other environment would this combination ever be found. But it works. Whilst champagne is not by any means a necessity in order to enjoy the experience of a quality afternoon tea, at this time of year alcohol seems to involve itself in every ingredient, outing and social interaction, so you may as well resign to this fact and enjoy it. Regardless, the 
opulent setting of Apsleys along with the quality of what was on offer made the experience most pleasurable and I do believe the birthday girl was positively chuffed with her gift. Good work Matt.

Alfiyet olsun.


Apsleys: A Heinz Beck Restaurant on Urbanspoon

Sunday 2 December 2012

Edible Christmas Gifts - I

I get a lot of satisfaction from making or creating things. It’s part of the reason I enjoy cooking – the idea of concocting a dish completely different from its component parts which on their own would be far less exciting, is a big draw. Alongside the glaring fact that I like to eat.

It’s also why I enjoy gardening, particularly fruit and vegetables - the Spring-time ritual of applying an inanimate seed to some dirt, adding water, giving it light and time and that resulting in the beautiful slow motion animation of germination, growth, bud, bloom and the setting of fruit is immensely gratifying. Not to mention the produce is quite handy for my first point.

Then there are textiles and sewing. I can’t walk into a shop and look at a cushion without giving it the once over and proudly exclaiming ‘£25?! I could make that myself’ (not always the case, alas). 

And so I put my money where my mouth is, and I attempt soft furnishings. I have so far been successful in making several cushion covers (one even from an old unwanted cardigan); a pair of curtains for one window in the main bedroom (lined, I might add) – the second window is still patiently waiting to be dressed; personalised Christmas stockings for Matt and I; and I am about 9 patches into a kingsize patchwork quilt (that project is a labour of love). Knowing I can make things very similar to those priced quite highly in the shops just by trying it out and watching a few handy youtube videos, has a huge satisfaction factor. Making things, being creative, working with my hands – all activities that appeal to me.


And so I see Christmas as the green light to get out the craft kit, get the apron on, and start cooking up some edible homemade gifts. What’s particularly appealing about this is I can incorporate my love of cooking with my penchant for craftiness in their packaging and decoration. These are little stocking fillers to give to friends and colleagues on the last few days at work before breaking up for the holidays, and to leave a little something with family when squeezing in fleeting visits on Boxing Day.

The sneaky tip over into December marks the time to start on the chutney. They need about 1 month to develop their flavour before being consumed, so now is a good time to get them done and ticked off the list.

This is a recipe I’ve used for the past couple of years now and it goes down a treat.

Caramelised red onion chutney

This goes incredibly well with strong cheeses and biscuits – get your fill in before ‘normal eating’ returns post festive period. Very simple to make.
Fills about 5 small-medium jars

Preparation

You will need five small to medium glass jars with their metal lids. You can either purchase kilner jars specifically, or if you happen to keep jars when you finish with their contents, use those. Screw tops are preferable to flip tops as the seal is stronger. The jars I used were smaller than jam jars – small caper jars, jars with mustard, small honey jars etc.

These jars will need to be sterilised and need to be filled when both the jars and the chutney are still hot. You can either put them through a cycle in the dishwasher and time it so that your chutney is ready once the cycle is complete. Or you can put the jars (lids off) in an oven at 180C for at least 20 minutes. The heat from both of these methods will kill of any germs that could contaminate your delicious chutney contents. Hand washing them in hot water will not suffice for sterilisation, but be sure to do this anyway once you’ve finished with their original contents.


10 large red onions
1 large red chilli
2 bay leaves
Olive oil
200g brown sugar
150ml balsamic vinegar
150ml red wine vinegar


Slice your onions very finely. You want to be sure you first slice off enough top and enough of the root to get rid of any parts of the onion that are tougher. Then remove two layers of the outer onion after the initial paper layer (this is why you want large ones to begin with). It’s the remainder that you want to slice up. Slice your chilli in half, remove the seeds, and chop the rest of it finely.

Tip The easiest and quickest way to slice this volume of onions with a consistent thickness is with a v-slicer or mandoline slicer. This is the one I use – worth putting on your Christmas wish list if you don’t already have one. It can of course be sliced with a knife, it will just take a bit longer. 
 If you are using a v-slicer or mandoline slicer, be sure to slice the onion in the holder in half with a knife first so the slices don’t come out as rings, otherwise they’ll be too long to spoon out of your jar.

Add your onion, bay leaves and chilli to a large pan with some olive oil and cook over a low heat with a lid on for a good 20-30 minutes, or until they soften and become sticky and a bit stringy. Add a sprinkle of salt to help draw out the liquid. I find a wok is very  useful for this as it holds a large volume and distributes the heat to more of the onions than a large saucepan would.


Once the onions are soft and sticky, add the sugar and vinegars and simmer for 30 minutes or so with the lid off, until almost all of the liquid has disappeared and the chutney is thick and dark. Be sure to give it a stir now and again.

Pour the chutney into your hot, sterilised jars – try to not let any touch the tops of the jar where the lid screws on. If you do, wipe with clean kitchen paper. Push the contents down so any large air pockets are filled. Put your lids on and allow to cool. After a while, push the pop button of your lid in if it has one – it should stay down. This happens because the air in the jars has contracted whilst cooling down. When the lid is first opened after this, the button should pop indicating freshness as it would have done with its original contents.

Keep your jars in a cool dark place for the chutney to develop their flavours for at least a month before consuming.

Et voila – my first set of Christmas stocking fillers complete.

There is then the matter of decorating these little gifts. You can let your creative juices run free here, using up any scrap bits of crafty stuff you might have lying around. I plan furnish mine quite simply. I will top the jars with a square of material – I have some red and green gingham along with some festive looking check left over from last year. 

They will be secured with basic brown jute string tied around the neck of the jar, and from them needs to hang a label. I have a wad of brown paper that I have saved from various packaging received in parcels throughout the year (did I also mention I like to recycle and re-use?) and I’m almost certain I can turn these into neat looking labels. Turns out after a bit of origami style experimenting, some well concealed cellotape and a hole-punch, it’s actually fairly easy. If you’d like to replicate, I’ve included the instructions below.


Take a rough square of your chosen paper and fold it about two thirds of the way up. The height you are left with will be the total length of your label.


Fold the top two corners down to the centre until they meet.


Fold the two edges in to create a label shape and secure with a bit of sticky tape folded over into a loop so it's sticky on both sides - this way you can conceal the tape.


Turn it over and you have a label. Use a hole punch to create a hole for the string. Repeat for as many as you'll need.

I hope these will go down a treat for the lucky folk receiving them.
Don't forget to make an extra jar for yourself.

Alfiyet olsun.

print button